If you have ever looked at a plumbing drawing and were totally baffled by the amount of lines, arrows, and other symbols-you are not alone. Most beginners look at their first plumbing schematic and question how anyone can read it.
But, honestly, once you grasp the basics, it gets super easy.
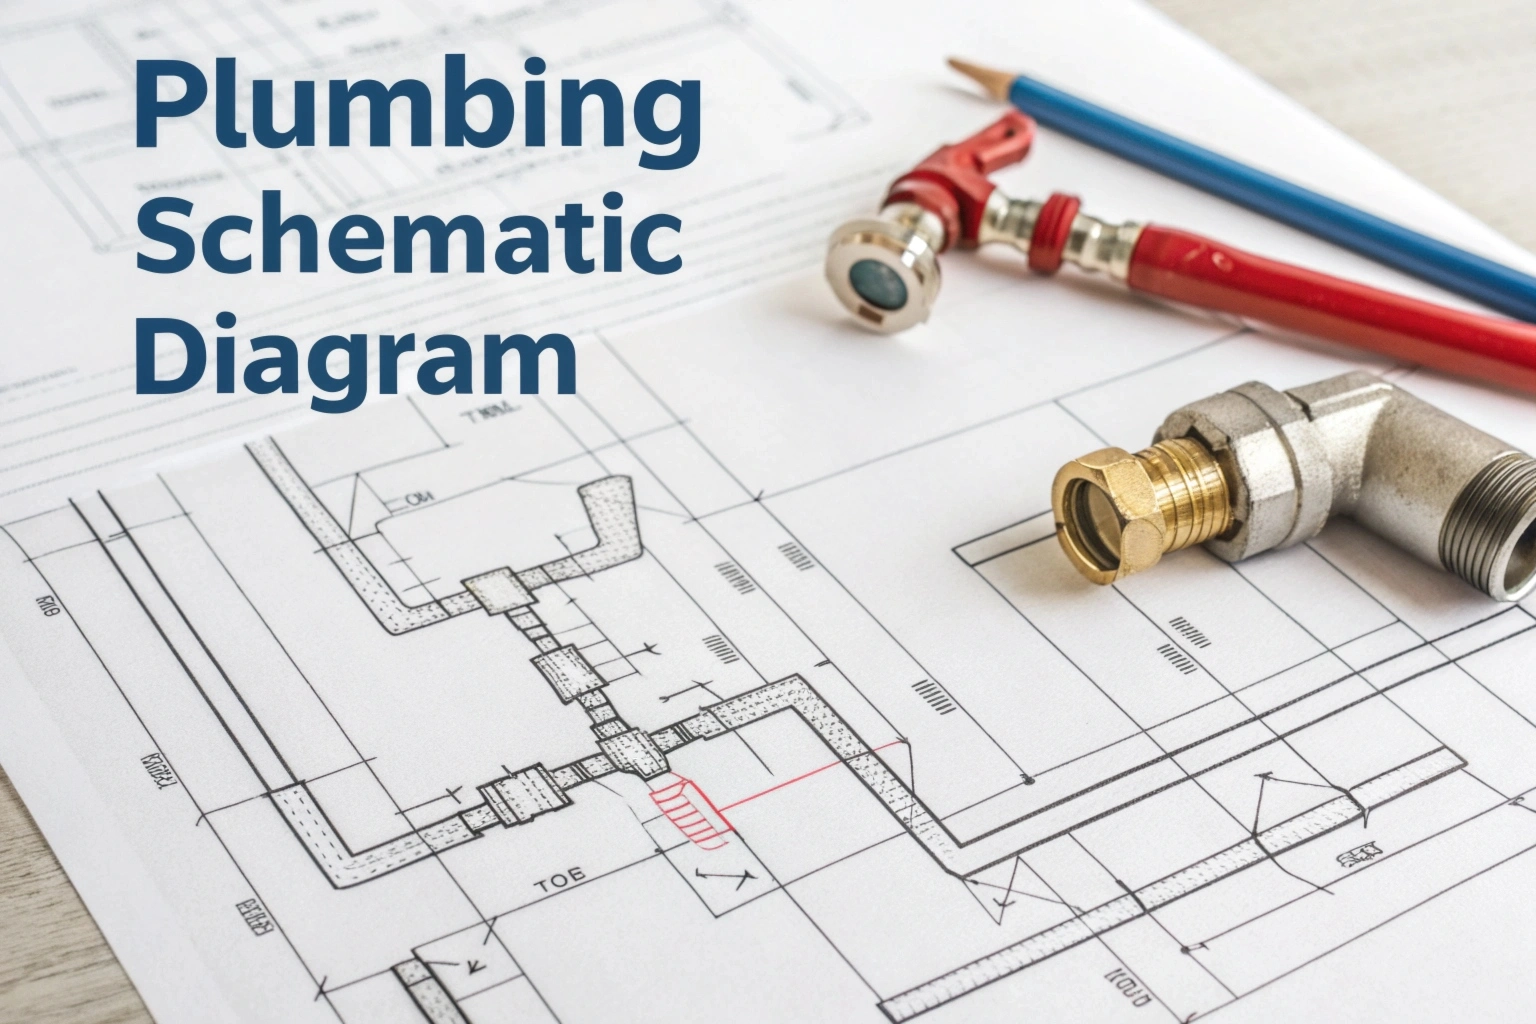
A plumbing schematic diagram is the map of the water system in a building. It shows where the water is coming from, where it goes, and how it meanders its way through pipes, pumps, and fixtures. Without this diagram, plumbers and engineers would virtually be working blind.
This tutorial explains it all in simple, human terms so that even a complete beginner can grasp it.
What Is a Plumbing Schematic Diagram?
A plumbing schematic diagram will be a drawing that provides the flow of water, drainage, and venting systems in the premises.
It uses lines, symbols, and arrows to explain:
- Cold water supply
- Hot water supply
- Drain pipes
- Vent lines
- Pumps
TANKS - Valves
- Plumbing fixtures All you have to do is think of it as an eight thousand foot displayed plan of the inside of your plumbing network, so to say, like “Google Maps”.
Why Plumbing Schematics Are Important
A lot of people ignore plumbing schematics until something goes wrong. For an engineer, a contractor, and a technician, though, this is the diagram that gives them everything.
Here’s why it matters:
Avoids pipe clashes with electrical or HVAC systems Basically, it’s what keeps the building decent, clean, and a working place.
Allows to understand the whole plumbing arrangement
Avoids installation mistakes
Makes it super easy to perform a repair and troubleshooting.
The design adheres to building codes.
Helps in the estimation of the materials required and pipe sizing
Main Parts of a Plumbing Schematic Diagram
To understand the diagram, you need to know what each part represents. Here are the core components:
1. Water Supply System
It shows how the water will enter the building and make its way to each fixture.
You will see lines for:
- Cold water supply
- Hot water supply
- Water heaters
- Water tanks
Booster pumps The schematic is clear to follow from the main source to all fixtures.
2. Drainage System (DWV)
DWV: Drainage, Waste & Vent.
This section illustrates how wastewater leaves the building in a safe manner.
it includes:
Vent pipes These pipes ensure that wastewater comes out correctly and without any bad smells.
Waste pipes
Soil pipes
Drains in the floor
Grease traps (for kitchens)
Sewer pipes
3. Plumbing Fixtures
Fixtures are the end points where people use water.
The following items are found within the diagram:
Sinks
- Toilets
- Showers
- Bathtubs
- Dish washer
Personal items included: • Washing machines Each fixture is connected to both supply and drainage lines.
4. Valves and Controls
Valves are responsible for controlling the flow of water.
The general valves used include:
Pressure reducing valve Valves are indicated, in schematic, with a particular symbol in order for technicians to know where the isolation of the water needs to, or will, take place.
Gate valve
Ball valve
Check valve
How to Read a Plumbing Schematic (Simple Method)
Here’s an easy way to understand any plumbing diagram:
Step 1: Find the water source
Look for the main supply or tank. This is where everything begins.
Step 2: Trace the supply lines
Follow the cold and hot water lines.
They will branch to each fixture.
Step 3: Identify the drainage paths
Wastewater should flow downward toward sewers or septic tanks.
Step 4: Check vent lines
Vent pipes usually go upward and out of the building.
Step 5: Spot pumps, tanks, heaters, and valves
These control pressure, storage, and flow.
Once you do this a few times, reading plumbing schematics becomes natural.
Common Symbols Used in Plumbing Schematics
Even though every drawing may look different, most follow standard symbols:
• Circles → fixtures
• Double lines → major pipes
• Arrows → direction of flow
• Square boxes → pumps or heaters
• Dotted lines → hidden or ceiling-level pipes
Knowing these basics makes reading diagrams much easier.
Why Beginners Should Learn Plumbing Schematics
If you plan to work in MEP, construction, maintenance, or even DIY home repairs, you must know how to read plumbing diagrams.
You’ll avoid:
• Wrong pipe installation
• Water pressure issues
• Drainage blockages
• Flooding problems
And most importantly, you’ll work faster and smarter.
Conclusion
A plumbing schematic diagram may look complicated at first, but once you understand the symbols and flow paths, it becomes one of the simplest tools to work with. This is essentially a roadmap that helps everyone-from designers to plumbers-understand how water moves through a building.
If you’re new to MEP or plumbing, learning schematics is among those things that will help you build confidence and improve your skill.