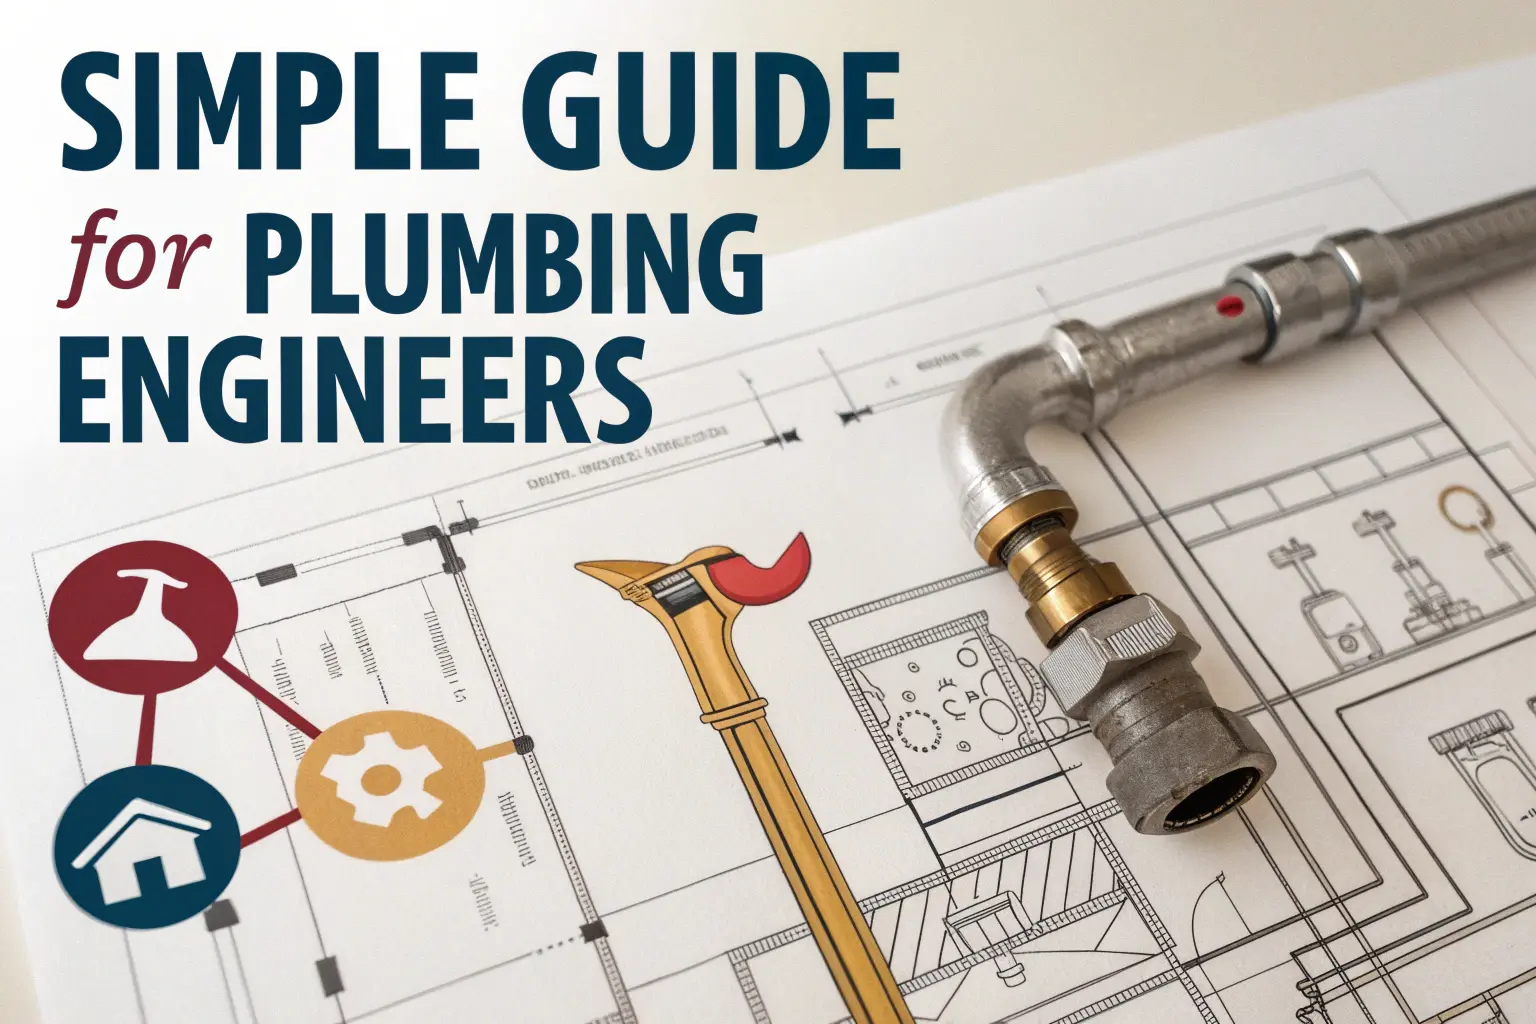
While handling a plumbing system, you should check that the water pipes are properly sized. You can also use Fixture Units. This simple process will allow you to estimate fixture units and work out the pipe size for calculating water demand. This technique will ensure that the water supply system meets the requirements of the entire building.
Step 1: Calculate Total Water Supply Fixture Units (WSFUs)
In the first step, figure out the number of Water Supply Fixture Units (WSFUs).
The first thing to do is make a list of all the fixtures connected to the pipes in the house. Usual features can be found in:
- Toilets
- Urinals
- Lavatories (sinks)
- Showers
- Bathtubs
- Dishwashers
- Washing machines
Example:
Suppose that an office building needs to be sized for 3 floors. There are rooms on every floor of the Carter House, including the main one.
- There are four water closets in the hotel.
- 3 urinals
- 3 lavatories
International Plumbing Code 2021 will tell you the WSFU for any fixture in your building.
- A public lavatory should be 1.5 WSFU.
- A 5 WSFU equals using an Urinal (3/4” flushometer valve).
- The water closet (under a flushometer valve) is rated at 10 WSFU.
Next, take the number of fixtures and multiply it by its WSFU.
- There are a total of 9 lavatories, so the WSFU needed is 13.5.
- There are 45 washrooms designed for pedestrian use for the 9 urinals.
- There are 12 water closets, so the WSFU is 120.
WSFU (Worksheet Function for Unit Construction) is 13.5 + 45 + 120. The total is 178.5.
Remember, you should include other issues in the letter too.
- Cooling towers
- RO systems
- Landscaping
- Process equipment
Ensure that other trades are taking into account their needs for water.
Step 2: Convert Fixture Units to Water Flow (GPM)
In the next step, turn the Fixture Units into Water Flow (shown as GPM).
Look up the sum of fixture units (some 180) and head to the “Flushometer Valve Supply Systems” section in the chart.
- Water Flow is 85.5 GPM (which is equal to 323.6 L/min)
Step 3: Check Minimum Static Pressure
The third step is to check the rating for minimum static pressure.
Speak with the local water authority so they can supply the static pressure from the source. Try to keep the pressure low when most people are using the water.
- The static pressure is 70 psi (which converts to 482 kPa)
Step 4: Account for Height-Related Pressure Loss
Water expels pressure as it moves up. Use:
- It takes 0.433 psi per foot to contain the pressure.
- 9.81 KPa Pa per meter
A 3-story building with a 35-foot riser involves a staircase height of 35 feet.
- If 35 pounds of pressure is applied, it results in 15.2 psi.
- 10.6 m long and 9.81 meter deep equals 105 kPa
Step 5: Check Pressure Needed at the Most Remote Fixture
Go with the fixture that requires the most amount of pressure.
For a siphonic water closet with a flushometer to function well, it requires 35 psi (241 kPa).
Step 6: Include Pressure Loss Through the Water Meter
Ensure that the water meter is rated for the task. Consider that 6 psi (41 kPa) pressure is lost across the pipe.
Step 7: Include Pressure Loss Through Backflow Preventer
Putting an RPZ backflow preventer in the plumbing can reduce the pressure. You should expect a 4 psi (that’s 28 kPa) decrease in pressure.
Review the system to see if there is a Pressure Regulating Valve (PRV).
Step 8: Check for Pressure Regulating Valve (PRV)
When the pressure is above 80 psi, a PRV must be used. As the pressure is 70 psi in this example, a PRV will not be necessary.
Include all the concrete losses of pressure.
Step 9: Add All Pressure Losses
Add:
- The riser loss is 15.2 psi.
- The fixture should stand up to at least 35 psi.
- 6 psi is missing from the water meters.
- A backflow preventer should be set up at 4 psi.
The total pressure is 60.2 psi (which is equal to 415 kPa).
Step 10: Find Pressure Left for Friction Loss
In the next step, you should figure out the amount of pressure needed to overcome the friction.
Deduct the cost of all the losses from the static pressure.
- The difference between 70 and 60.2 is 9.8 psi.
- 482 kPa is 67 kilopascal greater than 415 kPa.
The rest of the pressure is what must be used to conquer pipe friction.
Step 11: Measure Total Piping Length
Find out the true distance from where the water comes in to where it flows out. Ensure that you add 1/2 to cover fittings and valves.
Example:
- This highway measure is 140 feet long.
- When developed, the length of the ridge is 210 feet.
- Or: 42.6 m x 1.5 meters give us a length of 63.9 meters
When the number of fittings is exact, refer to IPC Table E103.3(6) to get the most accurate results.
Step 12: Calculate Friction Loss per 100 Feet
In Step 12, you can determine the amount of friction that occurs along every 100 feet.
This can be achieved using this formula:
Take (Available Pressure / Developed Length) and multiply it by 100
- If the pressure is given as (9.8 psi / 210 ft), then 100 multiplied by it is 4.7 psi/100 feet
Step 13: Determine Pipe Size
Check the graph at 85.5 GPM and 4.7 psi/100 ft to see what the pumping rate will be.
It lies a little higher than the 2” pipe line.
The best way to avoid trouble is to pick the next size up.
- The pipe diameter is 2 1/2-inches (65 mm).
Step 14: Consider a Booster Pump if Needed
Check if using a booster pump is necessary and make a decision.
Should your city supply be unable to avoid total pressure loss and still reach enough pressure at the farthest piece of plumbing, have a booster pump added to the system.
Final Thoughts
Whenever you use fixture units to size pipes, your water system will function efficiently. Pay attention and follow the given process.
- Record all the equipment installed in the building
- Always use the appropriate tables found in the IPC.
- Find out the amount of pressure lost in the pipe.
- Pick the appropriate diameter of the pipes.
If this is done correctly, the plumbing will perform well and there will be no expensive fixes required in the future.
Read More – Solar Water Heaters: How They Work, Types, and Benefits


